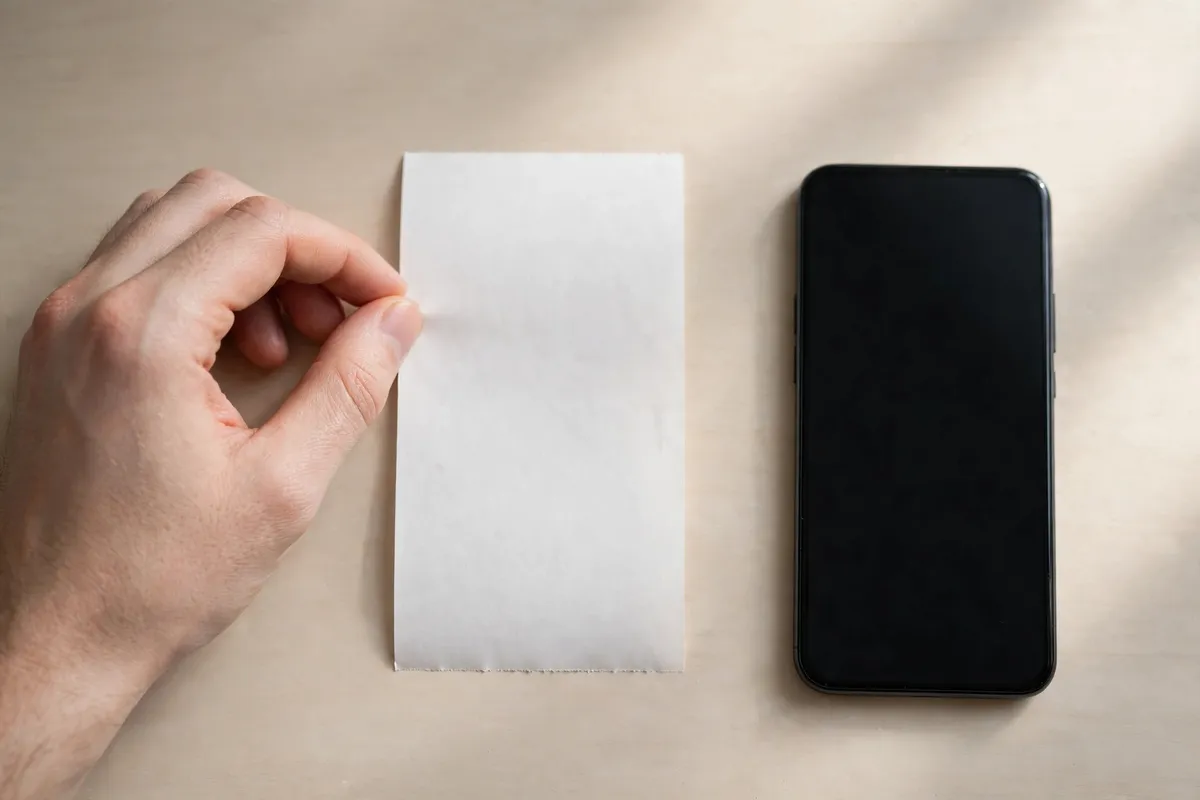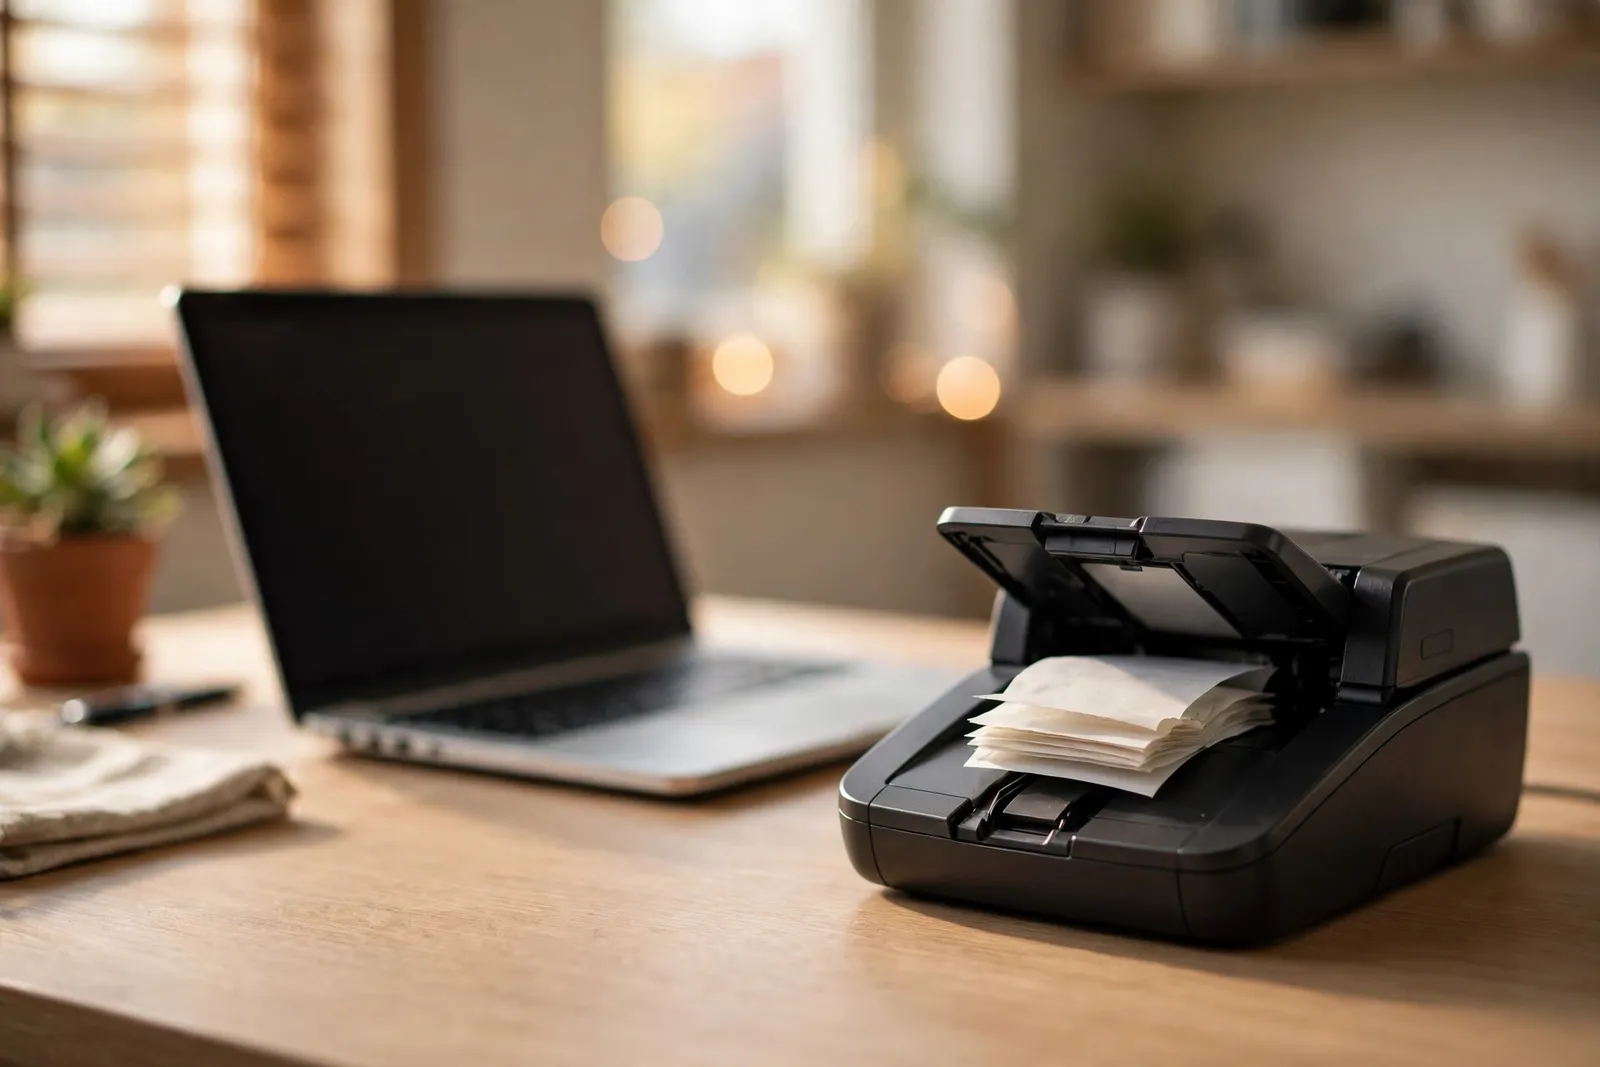
Receipts pile up faster than anyone files them, and the question that follows is always the same: what is the best receipt scanner for QuickBooks Online for the volume you actually have? The honest answer is that there is no single winner. The best option for one receipt a week is not the best option for fifty receipts in a shoebox. This guide compares the four routes — QuickBooks built-in capture, scanner hardware, receipt apps, and photo-to-file converters — so you can pick the one that fits your workflow.
Be clear about what our tools do before you choose. Our receipt tools are file-based converters, not a live connection to QuickBooks: you photograph or scan your receipts, convert them into an importable QBO or CSV file, and import that file yourself, reviewing every row before it posts. Nothing connects to your QuickBooks account, and nothing posts without your review. To convert a batch, use our best receipt scanner for QuickBooks Online file route — the steps below show how it compares with the other three options. For the capture basics, see our guide on how to scan receipts into QuickBooks Online.
What Makes the Best Receipt Scanner for QuickBooks Online
Four things decide the answer: accuracy, batch size, cost, and whether you use QuickBooks Online or Desktop. Accuracy is the extraction — vendor, date, and total read correctly from the image. Batch size is how many receipts you can process at once without the workflow breaking down. Cost is the hardware or subscription against the time it saves. And the Desktop question matters because QuickBooks Desktop has no built-in capture at all, so its users need an outside route whatever their volume.
The other thing to check is what happens after the scan. A receipt that is captured but never reviewed is a liability: a misread total becomes a wrong expense, and a duplicate becomes a double-counted one. Every route below ends in the same place — a human review before anything posts — and the route that makes review easy is usually the right one. Our guide to QuickBooks receipt capture explains the built-in tool's limits in detail.
The Four Routes Compared
Route one is QuickBooks Online's built-in capture: photograph a receipt in the mobile app or forward it by email, and QuickBooks extracts the fields for your review. It is free, it is already in the product, and it is the right choice for one or two receipts a week. Its limits are volume — one receipt at a time — and the fact that it only exists inside QuickBooks Online.
Route two is scanner hardware: a dedicated document scanner that feeds a stack of receipts and produces clean images. The images are sharper than phone photos, which helps extraction, and the batch feed saves time. The cost is the hardware and the desk space, and the scanner alone does not put anything into QuickBooks — the images still need a route into the books. Route three is receipt apps: standalone apps that photograph, extract, and export. They vary widely in accuracy and price, and the export format decides whether the data reaches QuickBooks cleanly. Route four is the file route: convert a batch of photos into a single importable QBO or CSV file and import it yourself. It handles backlogs and Desktop users, and the review happens in the file before anything posts.
The Best Receipt Scanner for QuickBooks Online by Volume
One or two receipts a week: use the built-in capture in the QuickBooks Online app, or email forwarding for receipts that arrive digitally. The setup is zero, the cost is zero, and the review is built in. Ten a week: the app's one-at-a-time pace starts to add up, and a file route for a weekly batch is usually faster — photograph the week's receipts in one sitting, convert them to a file, and import them in one review.
Fifty in a shoebox: go straight to the file route, oldest first, in batches of twenty to thirty. Photograph each receipt flat, in bright even light, and check the extracted vendor, date, and total against the photo before you import. If your books also need cleanup, our free QBO cleanup checker finds duplicate transactions before they distort a report. For the full upload walkthrough, see how to upload receipts to QuickBooks Online.
Photo Quality: The Step That Decides Accuracy
Whatever route you choose, the photo decides the result. Lay the receipt flat, photograph straight from above, fill the frame, and use bright, even light. A shadow across the total line is the most common reason an amount misreads, and a curled thermal receipt is the second — flatten it under a book for a minute before you photograph it. Thermal print fades with heat and light, so photograph faded receipts promptly.
Work in small batches and keep the original photos with the file — the image is the evidence, and the extracted fields are just the index. If a photo is unreadable, enter the figures by hand from what you can read rather than trusting a guess. A receipt that posts with the wrong vendor or the wrong total is harder to fix than one caught in review, and a duplicate is worse still.