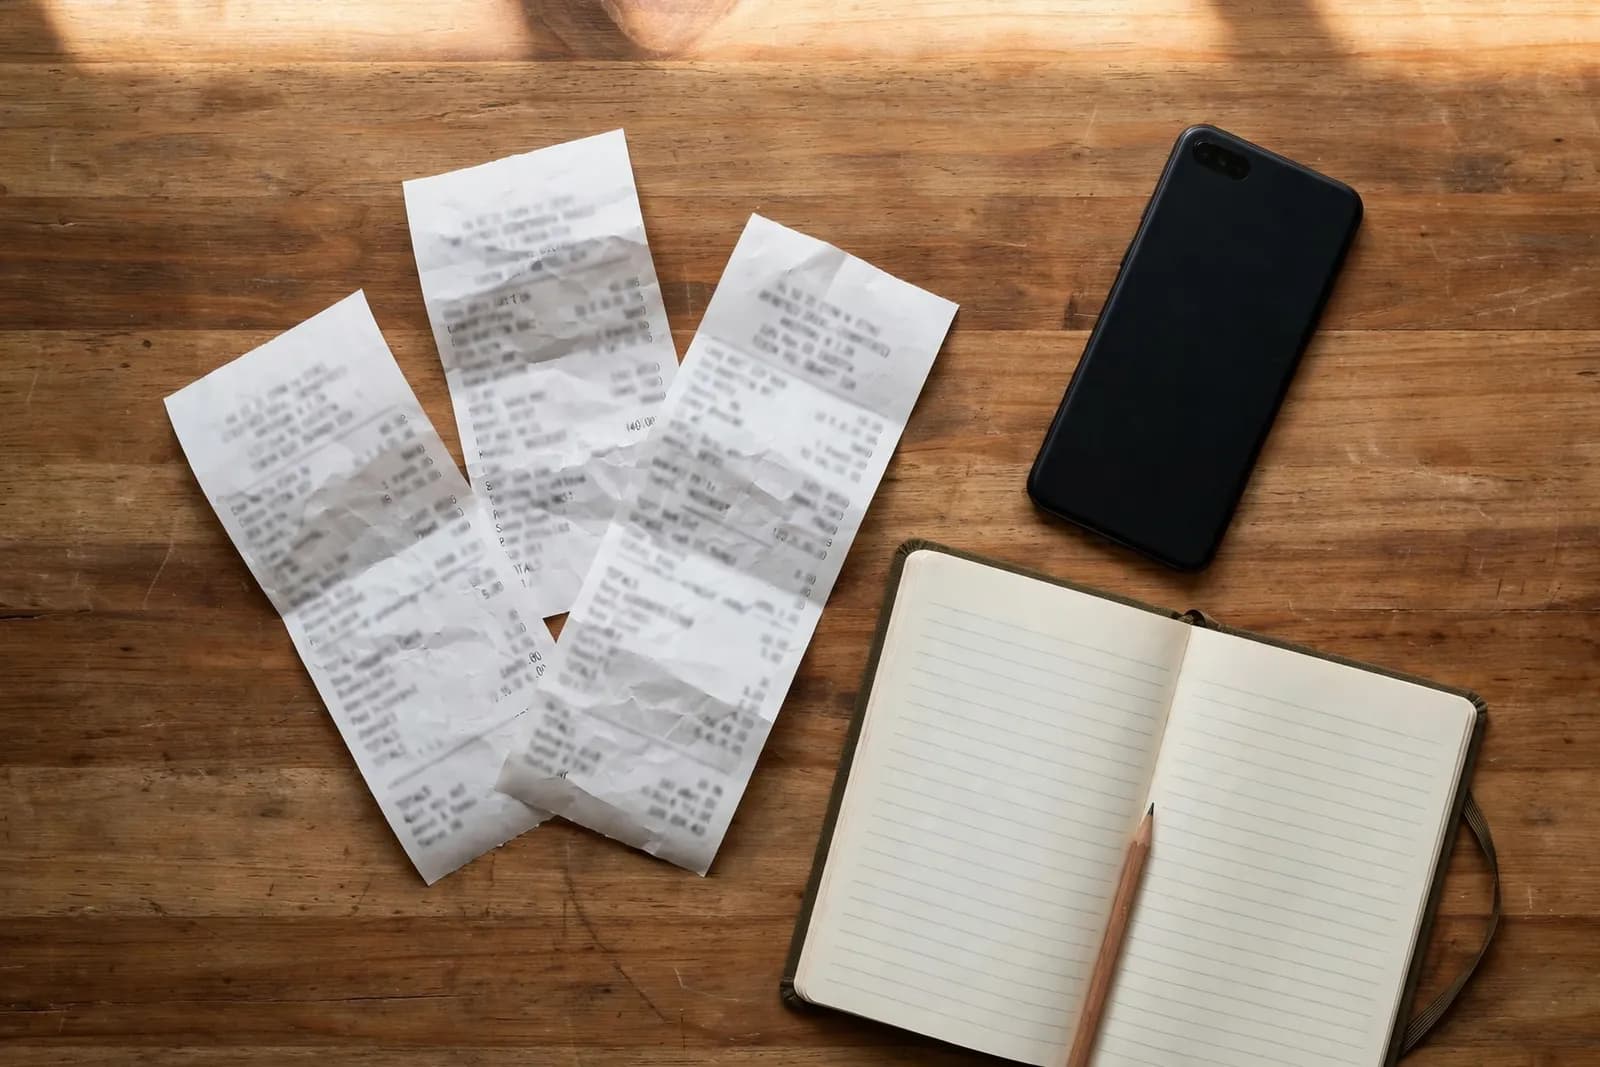
Receipts pile up in drawers, glove boxes, and jacket pockets, and by tax time half of them are faded beyond reading. Learning how to scan receipts into QuickBooks Online turns that pile into searchable expense records: each receipt becomes an expense or an attachment in QuickBooks, with the vendor, date, and amount captured instead of retyped. This guide covers QuickBooks Online's own capture tools, the photo habits that make capture accurate, and the file-based route for batches and for QuickBooks Desktop users.
Be clear about the workflow from the start, because it shapes every choice below. Our tools are file-based converters, not a live connection to QuickBooks. You photograph or scan your receipts, convert them into an importable QBO or CSV file, and import that file yourself, reviewing every row before it posts. Nothing connects to your QuickBooks account, and nothing posts without your review. To convert a batch, use a receipt to QuickBooks converter to how to scan receipts into QuickBooks Online from your photos, then review the extracted totals before importing.
How to Scan Receipts Into QuickBooks Online With Built-In Capture
QuickBooks Online includes receipt capture in its mobile app and in the browser: you photograph a receipt or upload an image, QuickBooks extracts the vendor, date, and total, and you review the result before it becomes an expense. For one receipt at a time, this is the simplest route, and it keeps the receipt image attached to the expense, which is exactly what an auditor wants to see. Attach the image even when the extracted numbers look right: the image is the evidence, and the extracted fields are just the index.
The limits show up with volume. Built-in capture works one receipt at a time, and it is a QuickBooks Online feature, not a Desktop one. If you have a shoebox of fifty receipts, or you run QuickBooks Desktop, the one-by-one route becomes the bottleneck. That is where the file route below earns its keep.

How to Scan Receipts Into QuickBooks Online So OCR Reads Them Right
Capture accuracy is mostly a photography problem, not a software problem. Lay the receipt flat, photograph it straight from above, and fill the frame with the receipt, not the table around it. Use bright, even light and avoid shadows across the total line; a shadow over the total is the most common reason an amount misreads. For long receipts, photograph in two overlapping halves rather than shrinking the whole strip into one unreadable image.
Check the photo before you move on: is the vendor name readable, is the date visible, is the total sharp? A blurry total is worse than no photo, because it creates a confident wrong number. Faded thermal receipts deserve special care: photograph them promptly, because thermal print fades with heat and light, and a receipt photographed today may be unreadable in six months. If a receipt is already faded, enter the figures by hand from what you can still read, and keep the photo as supporting evidence rather than relying on extraction.
The File Route: Batches and QuickBooks Desktop Users
For batches, the file route replaces one-by-one capture with a single import. Photograph or scan the whole batch, convert the images into a QBO or CSV file with the vendor, date, and amount for each receipt, and import the file into QuickBooks, reviewing every row before it posts. The same route serves QuickBooks Desktop users, who do not have the Online capture tools: the import file is the bridge between your photos and your Desktop company file.
Review is not optional in this workflow. Check each extracted total against its photo, confirm the vendor mapping, and watch for the classic batch error: two receipts from the same vendor on the same day with similar totals, which are easy to confuse and hard to spot later. Import in small batches, oldest first, and reconcile the imported expenses against your bank or card statements at month end. If a duplicate slips through from an overlapping import, run a check with the free QBO cleanup checker before deleting anything, and see our guide on how to find duplicate transactions in QuickBooks Online for the full duplicate hunt.

Building a Receipt Routine That Holds All Year
The best capture system is the one you actually use every week. Photograph receipts the day you get them, before they fade or vanish, and file the photos by month as you go. Once a week, spend ten minutes reviewing the week's captures: totals checked, vendors confirmed, personal expenses separated from business ones. That weekly habit is what makes tax time a review instead of a rescue mission.
Keep the originals for at least the period your tax preparer recommends, and keep the digital copies filed by year and month. A receipt attached to its expense in QuickBooks, backed by a filed photo, is an audit-ready record; a receipt in a drawer is a hope. The routine is simple, and simple is why it works.