
Receipts arrive faster than anyone files them, and the pile grows until tax time forces the issue. Learning how to upload receipts to QuickBooks Online ends that cycle: each receipt becomes an expense or an attachment in the books, with the vendor, date, and total captured instead of retyped. This guide compares the three routes — the mobile app, email forwarding, and a file import for batches — so you can pick the one that fits your volume.
Be clear about the workflow first, because it shapes every choice below. Our tools are file-based converters, not a live connection to QuickBooks. You photograph or scan your receipts, convert them into an importable QBO or CSV file, and import that file yourself, reviewing every row before it posts. Nothing connects to your QuickBooks account, and nothing posts without your review. To convert a batch, use our free receipt to QuickBooks converter: it turns your photos into an importable file, and the steps below show how to upload receipts to QuickBooks Online from that file. For the capture basics, see our guide on how to scan receipts into QuickBooks Online.
How to Upload Receipts to QuickBooks Online in the Mobile App
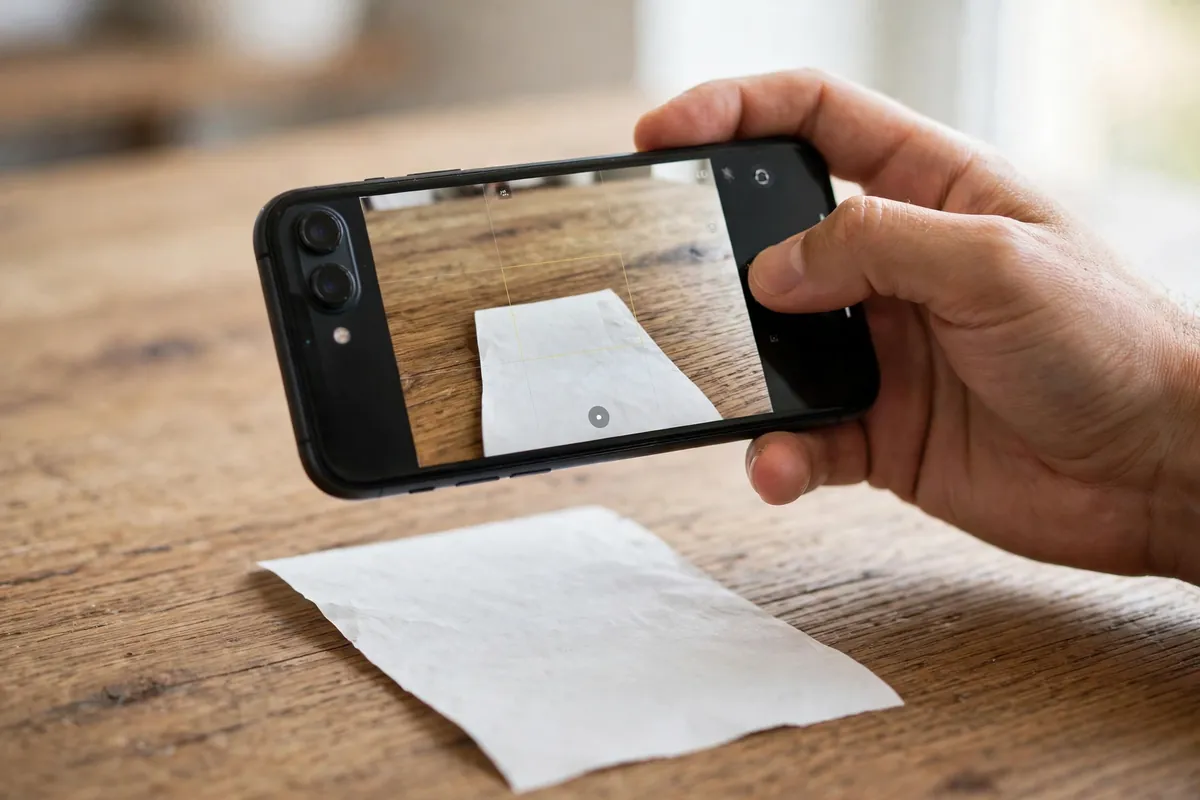
The mobile app is the simplest route for one receipt at a time. Open the QuickBooks Online app, go to receipt capture, and photograph the receipt or pick an image from your phone. QuickBooks extracts the vendor, date, and total, and you review the result before it becomes an expense. The receipt image stays attached to the expense, which is exactly what an auditor wants to see.
The habits that make this work are the same ones that make any photo capture accurate: lay the receipt flat, photograph straight from above, fill the frame, and use bright, even light. A shadow across the total line is the most common reason an amount misreads. Check the extracted fields before you save — a blurry total creates a confident wrong number. For the photo technique in detail, see how to scan receipts into QuickBooks Online so OCR reads them right.
How to Upload Receipts to QuickBooks Online by Email
QuickBooks Online also accepts receipts by email: you forward the receipt to your company's unique capture address, and it lands in the receipt inbox for review. This route suits emailed receipts — online orders, subscriptions, and travel bookings — because the receipt is already digital. Forward the original email rather than a screenshot, and keep the subject line intact so the vendor and date stay clear.
Email forwarding has two limits worth knowing. First, the receipt still needs a human review: the extracted vendor and total can be wrong, especially on receipts with multiple line items or a foreign currency. Second, it is still one receipt at a time — a forwarded batch is a pile of separate emails, not a single import. For anything more than a handful a week, the file route below is faster. Our guide to QuickBooks receipt capture explains when the built-in tools are enough and when you need more.
The File Route: Batches and QuickBooks Desktop Users
For a backlog, the file route replaces one-by-one capture with a single import. Photograph or scan the whole batch, convert the images into a QBO or CSV file with the vendor, date, and amount for each receipt, and import the file into QuickBooks, reviewing every row before it posts. The same route serves QuickBooks Desktop users, who do not have built-in capture at all.
Work in small batches — twenty to thirty receipts at a time — and check each batch before you import the next. The checks are simple: the vendor name matches the receipt, the date is the receipt date rather than the photo date, and the total matches to the cent. A batch that fails a check gets fixed in the file, not after it posts. If your receipts also need cleanup in the books, our free QBO cleanup checker finds duplicate transactions before they distort a report.

Choosing the Right Route for Your Volume
One or two receipts a week: use the mobile app or email forwarding, and the built-in tools will do. Ten a week: email forwarding starts to feel slow, and the app's one-at-a-time pace adds up — try the file route for a month and compare the time. Fifty in a shoebox: go straight to the file route, oldest first, and keep a simple log of which batches are imported so nothing is entered twice.
Whatever route you choose, the rule is the same: review before it posts. A receipt that posts with the wrong vendor or the wrong total is harder to fix than one caught in review, and a duplicate is worse still. Keep the original photos with the file — the image is the evidence, and the extracted fields are just the index. For the full reconciliation picture, see our QuickBooks hub and the QuickBooks reconciliation guide.